OpenMW is the best way to play Morrowind on modern systems, so here's your full guide to getting it installed on Linux / SteamOS and Steam Deck.
For SteamOS / Steam Deck, these instructions assume you are in Desktop Mode. We'll also assume in general you're using Steam for the guide for now. These instructions will work on any version of Linux that has access to Flatpak. We may add GOG instructions later. To install games from GOG on Linux systems check out our other guide.
Jump To:
Option 1) Flathub / Flatpak
Before starting this option, be sure to install Morrowind in Steam first onto your main drive.
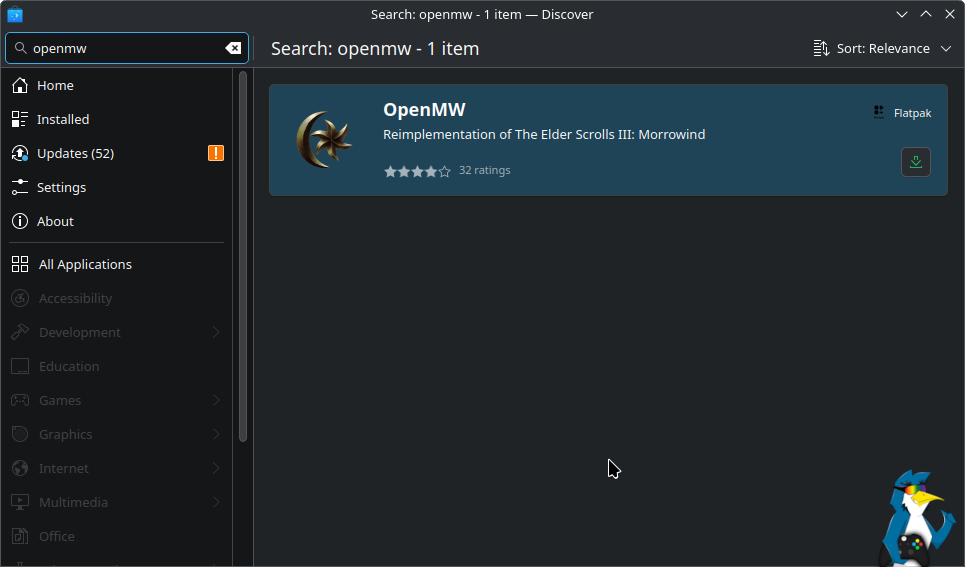
Starting off with what might be the simplest option. You can install OpenMW via Flathub, which is available via the Discover app for KDE Plasma / SteamOS. Or Software on GNOME.
Important note: for any time OpenMW updates, you will need to go back into Discover to run the updates (this applies to all Flatpak apps / games installed).
Or, via terminal to install it:
flatpak install flathub org.openmw.OpenMW
Once installed, it will show up in your application launcher. That's the "Start Menu", for those of you more familiar with Windows terms.
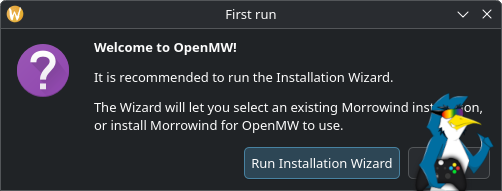
With your first load, you will need to then supply it with the version of Morrowind you have installed. Click "Run Installation Wizard" and it will walk you through the steps to find your downloaded version of Morrowind.
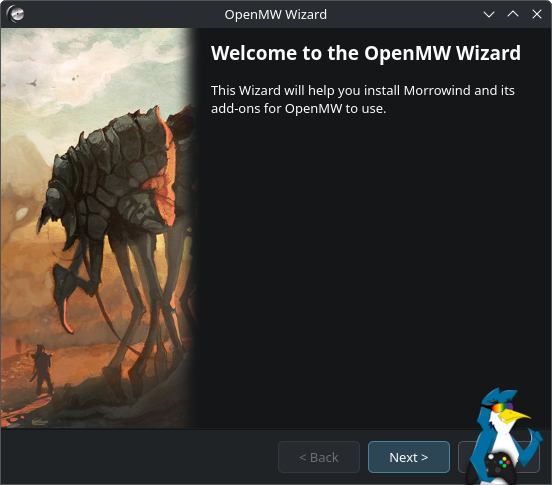

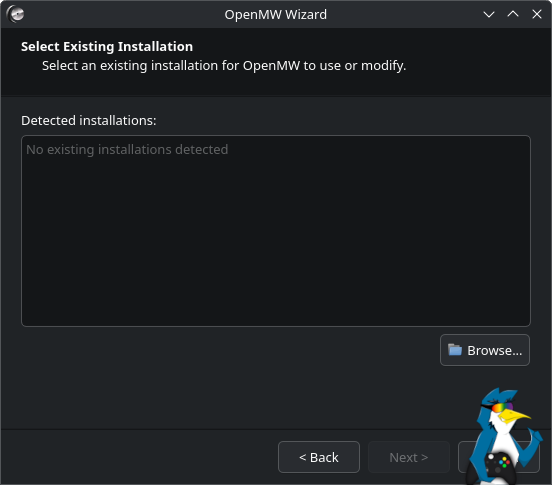
You'll want to select "Existing Installation", then hit "Next". It likely won't auto-detect where it's installed on a Linux system, so for this next screen just hit Browse. Then you can manually direct it to where you have Morrowind installed.
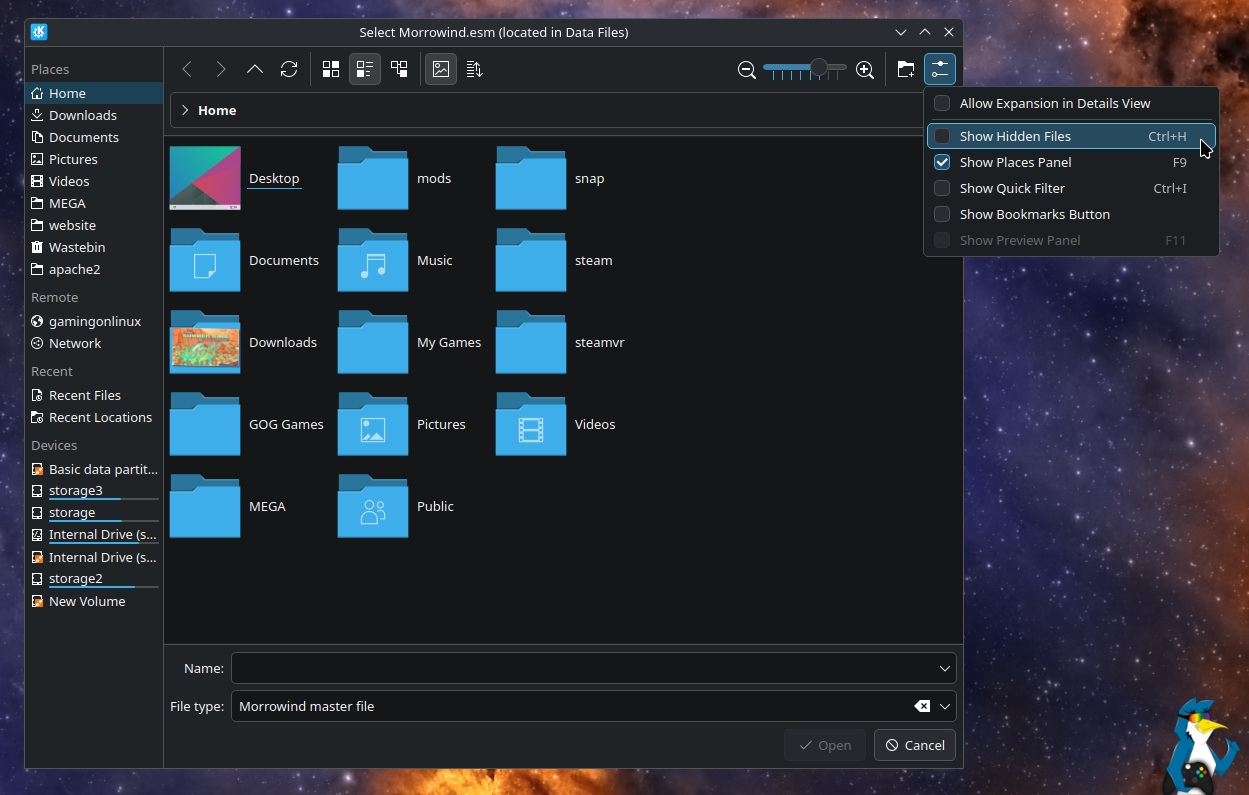
Since the main Steam folder is hidden, you'll need to unhide the contents of your Home folder. You can do CTRL+H (usually) to unhide files and folders, or in the KDE Plasma file picker in the top left is the settings button, where you can select "Show Hidden Files".
Then you can find and open the ".steam" folder and go through to this location:
/.steam/root/steamapps/common/Morrowind/Data Files/
This is where the needed "Morrowind.esm" Morrowind master file will be to pick.
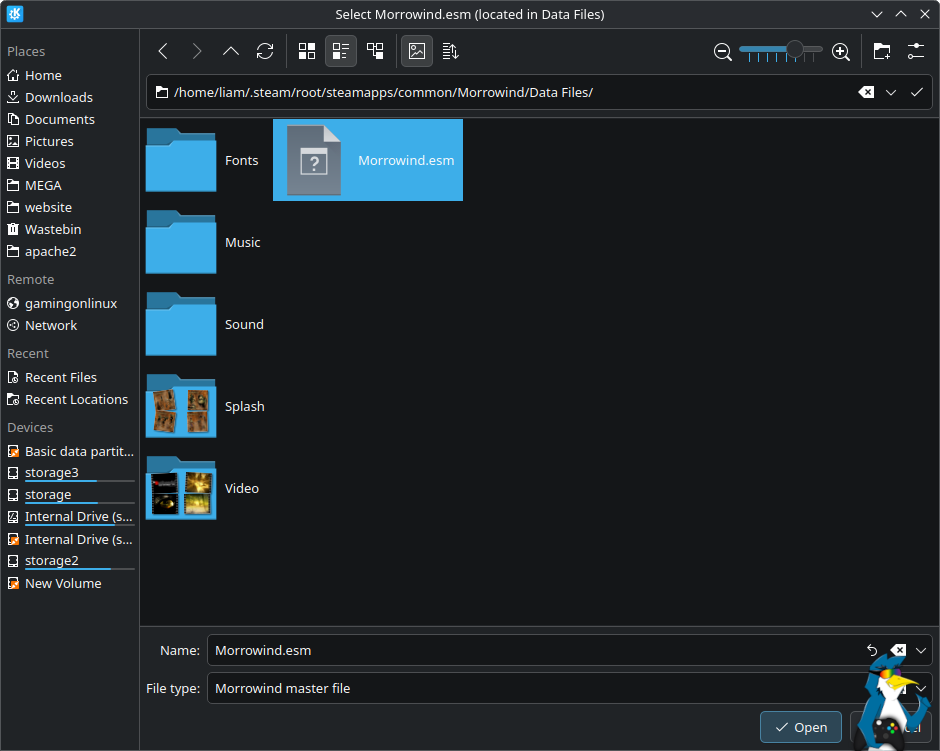
Select the file, click "Open" and then you're done and OpenMW will be able to use all the data files needed from your Morrowind install. Now follow the rest of the instructions (you can just keep hitting Next until it's done).
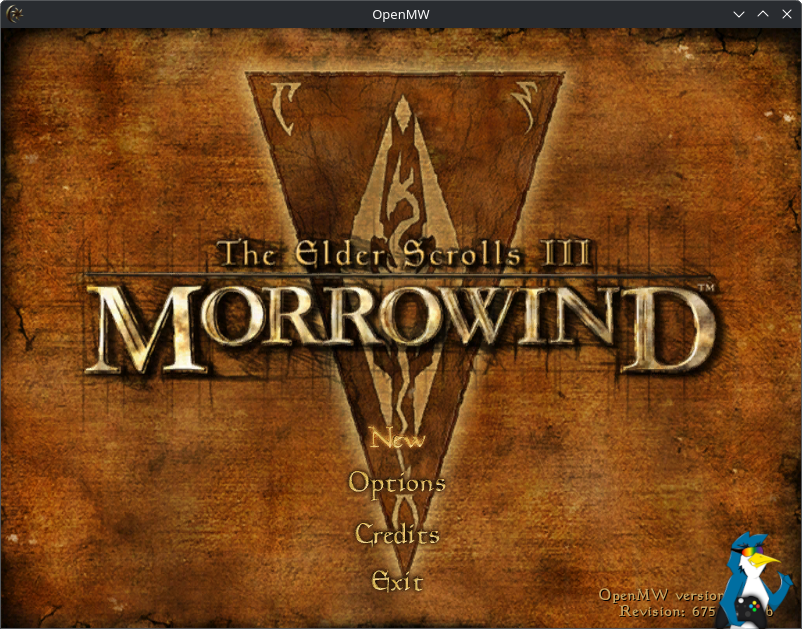
Finally, you'll get to the launcher that has everything needed.
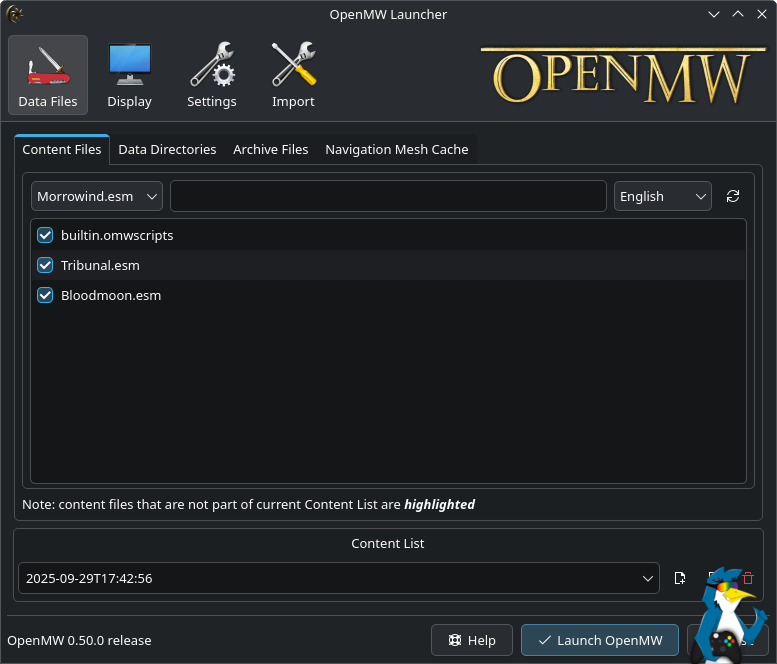
Here you can just hit "Launch Open" and you're good to go.

To make it easier to run in future if you're on SteamOS / Steam Deck, you can add this OpenMW install into Steam.
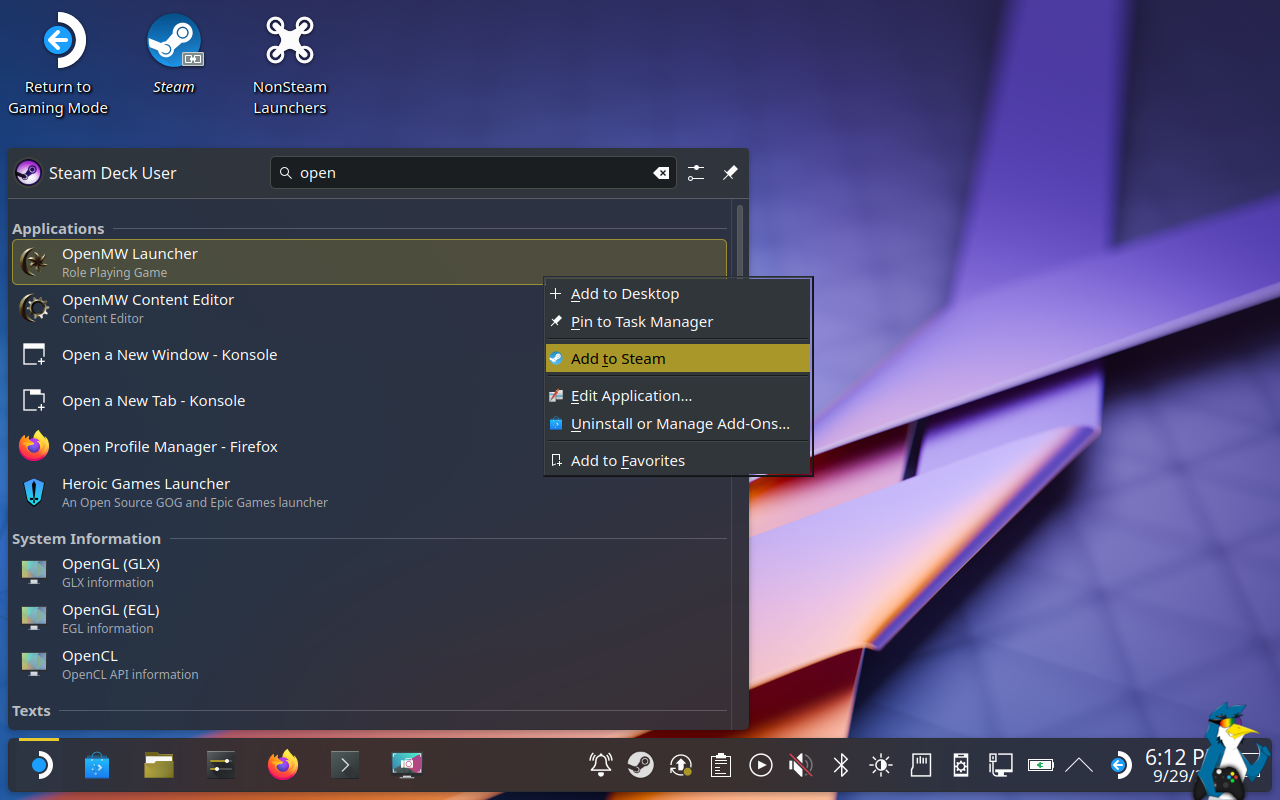
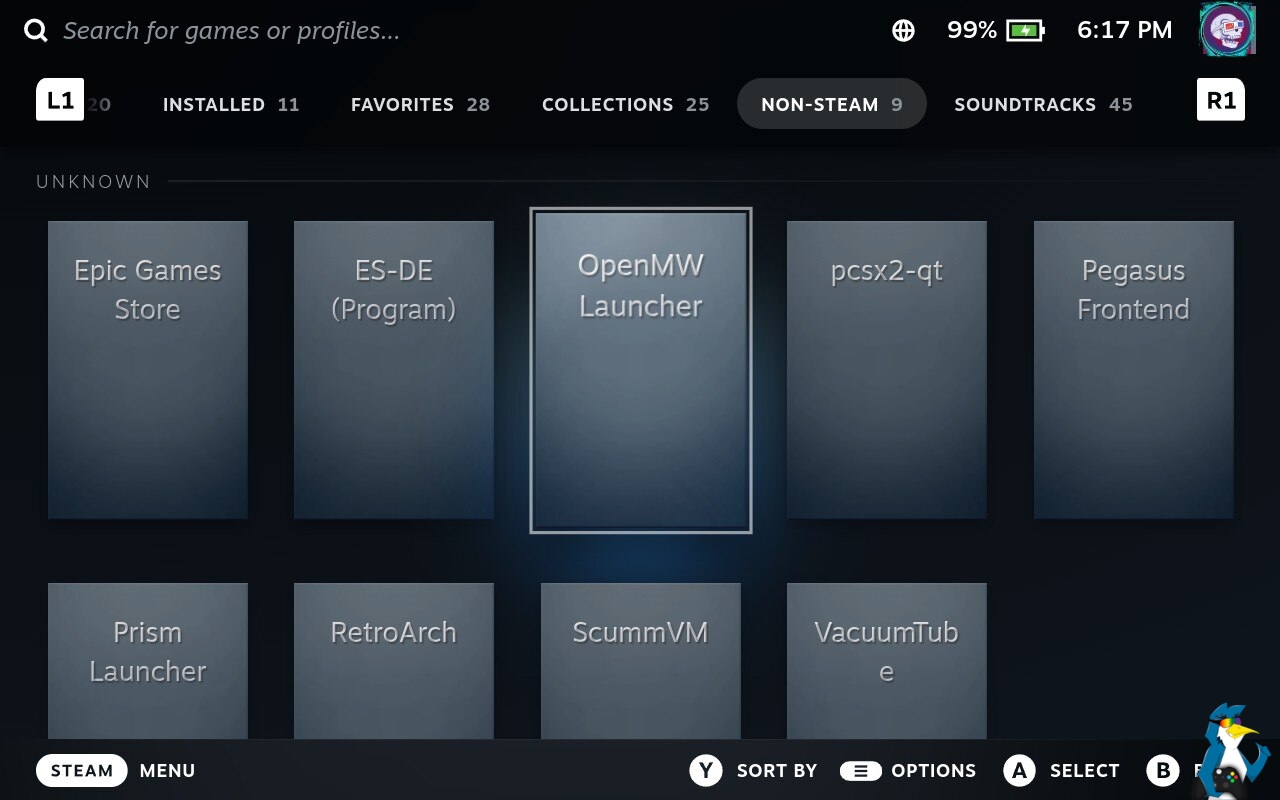
It will then appear in your Steam Library under the Non-Steam section in SteamOS Gaming Mode.
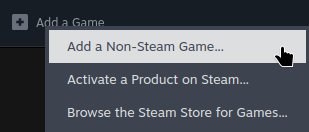
For all other Linux distributions, you can add OpenMW via the Add a Game option in the bottom left of Steam:
Then scroll down to select the OpenMW Launcher:
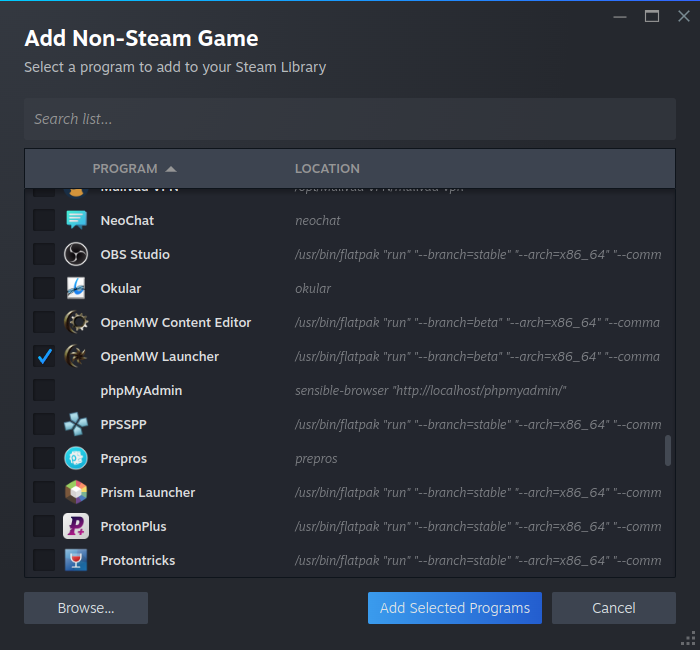
Click "Add Selected Programs" and it will appear in your Steam list.
Option 2) Luxtorpeda
For this step, you don't need to have Morrowind installed yet. We'll do that at the end. With this way, Steam will also correctly track your playtime.
Another option you could use, that you might prefer, is Luxtorpeda. This tool allows you to download Native Linux versions of games on Steam using external sources, like OpenMW for Morrowind. Luxtorpeda supports various games.
Starting steps are similar to option 1. Except we'll be grabbing ProtonUp-Qt to help with this from our software store like Discover on KDE Plasma / SteamOS.
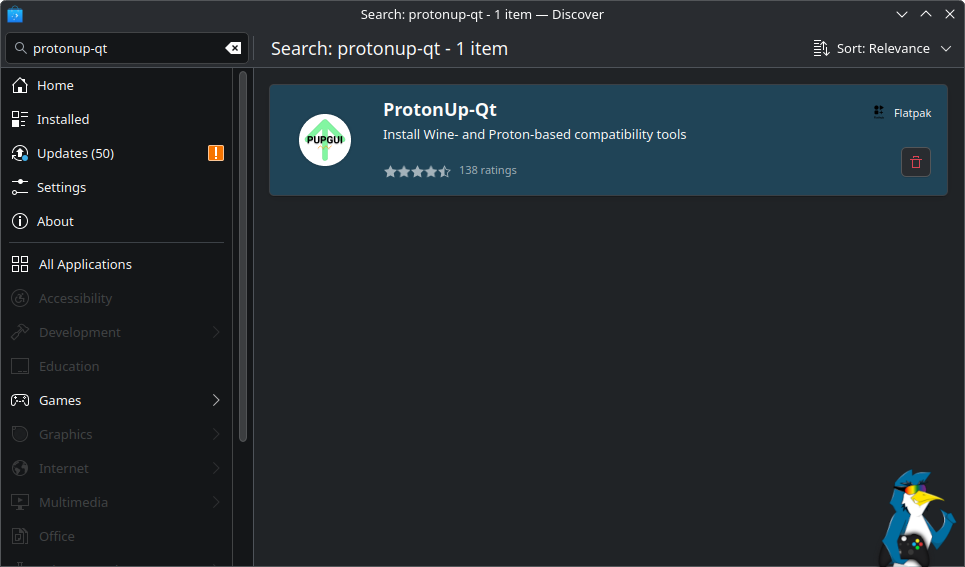
Or via terminal if you prefer:
flatpak install flathub net.davidotek.pupgui2
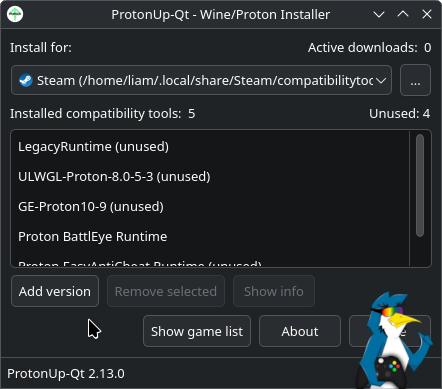
Once installed, you can launch ProtonUp-Qt from the application launcher. That's the "Start Menu", for those of you more familiar with Windows terms.
Inside ProtonUp-Qt, we're going to select "Add version" and on the next screen, the drop-down box at the top you're going to click and select Luxtorpeda.
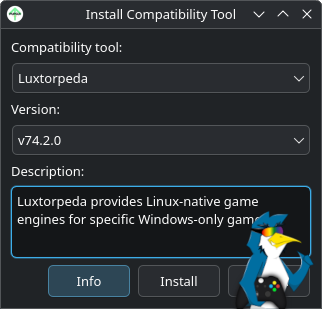
Tap "Install", wait a while and let it set it up for you. Then once done, you can close ProtonUp-Qt and you'll also need to close and reopen Steam so that it picks up Luxtorpeda.
Once you have Steam open again, you can go into the Properties menu for Morrowind, select the Compatibility menu, tick the box and select Luxtorpeda.
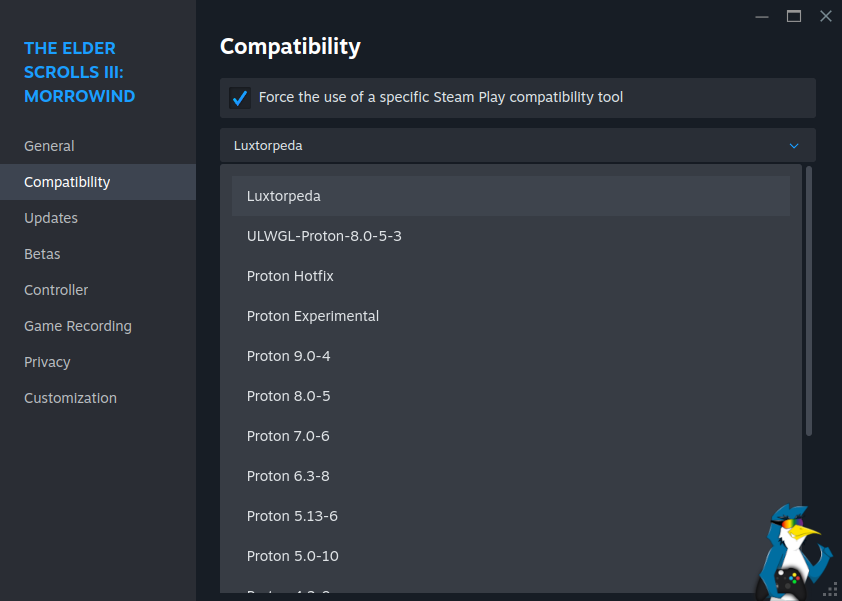
Once selected, you can close the properties menu and install Morrowind. Then, when you go to launch it, Luxtorpeda will do the magic for you by acquiring and setting up OpenMW for Morrowind. Keeping it all nice and neat directly in your Steam library to launch it direct.
First you'll get the Luxtorpeda engine selection, just pick the top one, OpenMW and go through it and it will install it for you. You don't need to mess with any manual hunting of files with this method.
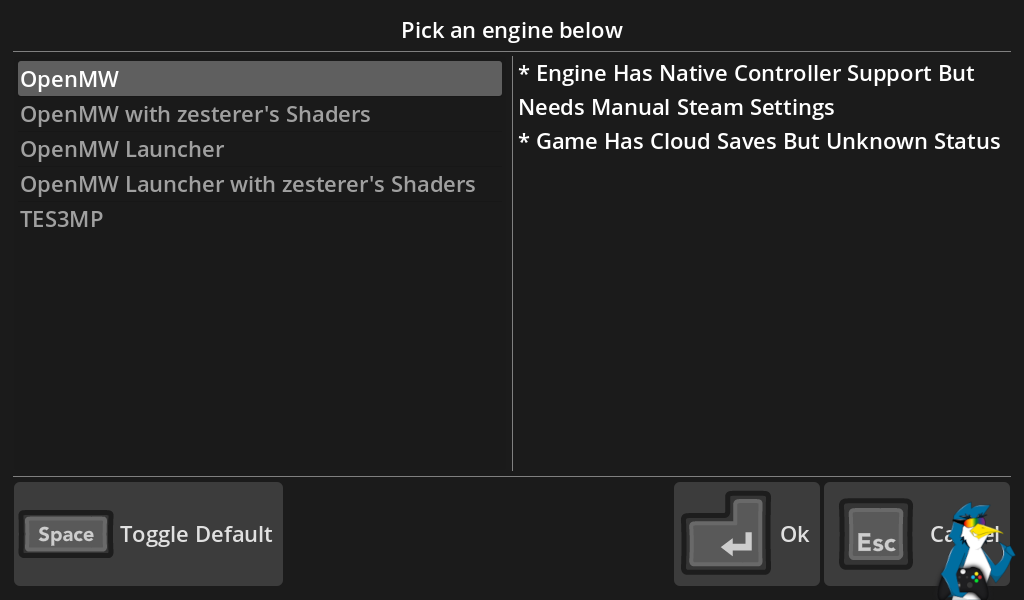
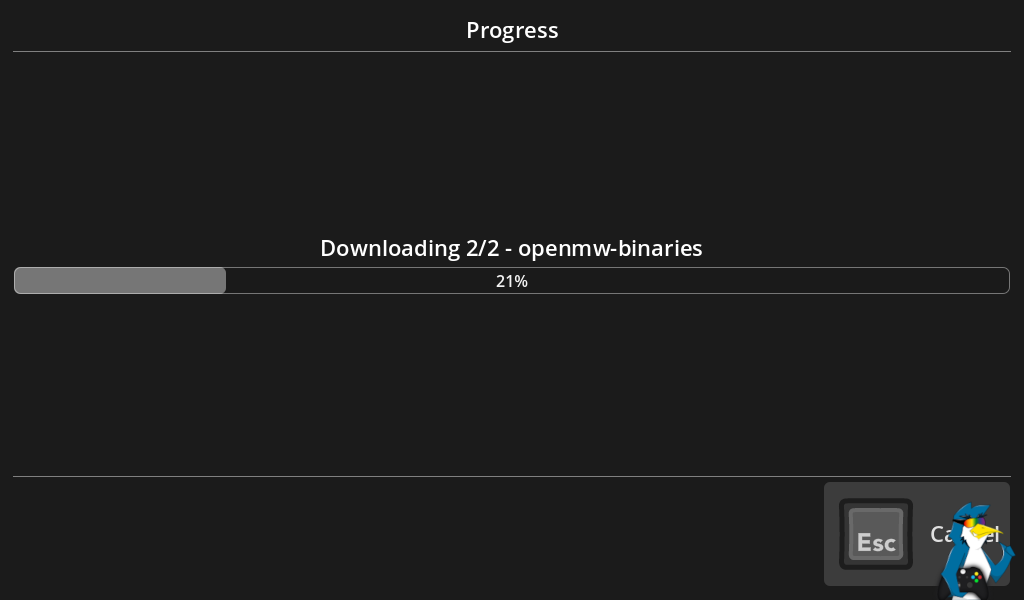
Once it's downloaded the bits it needs, it will launch it for you.
Each time you go to launch it if you have it installed with Luxtorpeda, it will ask which engine to pick and you can just again pick the top one of OpenMW each time and then it will load like the above shot. However, if you need to edit some other settings, you can select "OpenMW Launcher" to get it to load that first.
If any steps are unclear or if anything needs updating, be sure to leave a comment and we'll get to it.
See more from me

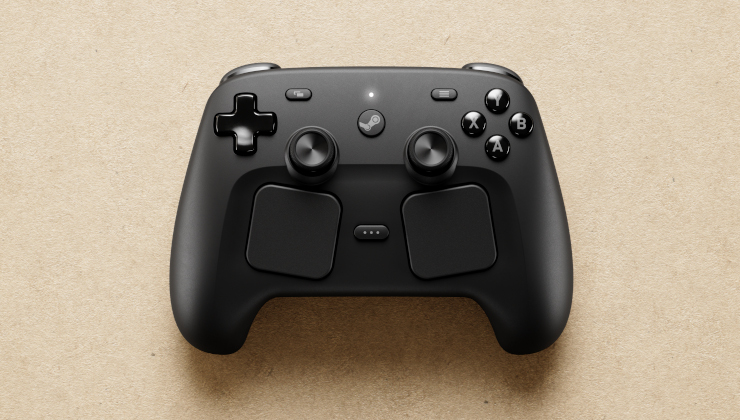


I started playing OpenMW on my steam deck, and syncing my game saves between my deck and PC with syncthing a while ago. The experience is so nice! Highly recommended.How good it is with gamepad?


 hardpenguin 30 Sep 2025
How good it is with gamepad?Wait for OMW v0.50, there will be a huge uprade of gamepad support. As I understood, you will not need a mouse anymore.

https://openmw.org/2025/openmw-0-50-0-is-now-in-rc-phase/
It's not officially released, but the RC releases of OMW are very stable.
I followed their Automatic Installation guide for the Total Overhaul of 589 mods on Linhx Mint and it worked flawlessly with no crashing after a few hours of playing. It downloads mods from Nexus through your terminal into your game install. If you pay for Nexus it'll be quicker and smoother, otherwise you have to acknowledge all 589 mods so it can take a few hours.
 Caldathras 4 Jan 2026
Spoiler, click me
Option 3) Direct Download
https://openmw.readthedocs.io/en/stable/manuals/installation/install-openmw.html#direct-download
Recently, I discovered that OpenMW offers a Direct Download "installer" on their GitHub site. This archive acts just like the Windows installer, allowing you to keep multiple versions of OpenMW installed in Linux.
Spoiler, click me
https://modding-openmw.com/tips/portable-install/
The problem is that the installation instructions from the online guide are written very poorly. All they say is "run the install package once downloaded. It’s now installed!". It is not that easy. For one, the "installer" is an archive, not an executable. For two, they assume that you know what file to run once the archive is extracted. Here are my expanded instructions:
1) Download the latest Direct Download archive from the GitHub Releases page.
2) Extract the archive to the folder/location of your choice.
Spoiler, click me
This, however, also makes the installation somewhat portable since you can place folder wherever you want. Combined with the "portable install" feature described above, this means you won't even have to have the game installed in your File System partition at all.
3) Launch the "openmw-launcher" script from within the folder.
.... a) If you are simply upgrading, it will use your existing configuration. You are good to go.
.... b) If this is a fresh installation, the launcher will offer to run the OpenMW Wizard to help you set everything up (see Option 1 of Liam's guide above for the rest of the steps).
4) If the launcher script will not start, then you have very likely encountered the rather infamous glibc issue (you can verify this by trying to launching the script in a terminal).
Spoiler, click me
One of the big concerns that I have with the OpenMW project is that they don't clearly notify Linux users of a change in system requirements (which they could include with the text for each release on GitHub). The OpenMW Team occasionally increases the version of the glibc library required without clearly advising their Linux users of this change.
For example, the latest version of OpenMW (0.50.0) requires glibc 2.38. This is only available on Ubuntu 24.04 (Mint 22) or higher. (Still running an earlier distro version? Surprise!)
The solution is quite simple. You need to integrate the game into the Steam Client and set the compatibility to Steam Linux Runtime 4, which is based on Debian 13.2 Trixie (and supports glibc 2.38).
5) Make sure to download the latest version of the Steam Linux Runtime (currently Steam Linux Runtime 4).
6) To add OpenMW to the Steam client, choose the option "Add a Non-Steam Game ...". You may have to manually point Steam at the location of the openmw-launcher script (I did).
7) Go to the Properties menu for openmw-launcher and select "Install Compatibility Tool". Choose the latest Steam Linux Runtime, which you downloaded in Step 5.
8) Update and customize the Steam Library entry to your preferences. You should now be good to go.

Their scripts make modding really easy. But unfortunately the Total Overhaul seems to be too much for the Deck. Would be nice to see a configuration close to it which can be run on the Deck.